Here are the ingredients needed for the pizza dough:
5 cups all purpose flour
1 Tablespoon sugar or honey
2 teaspoons salt (or 3 1/2 teaspoons kosher salt)
1 teaspoon instant yeast
2 Tablespoons olive oil
1 3/4 to 2 cups room-temperature water
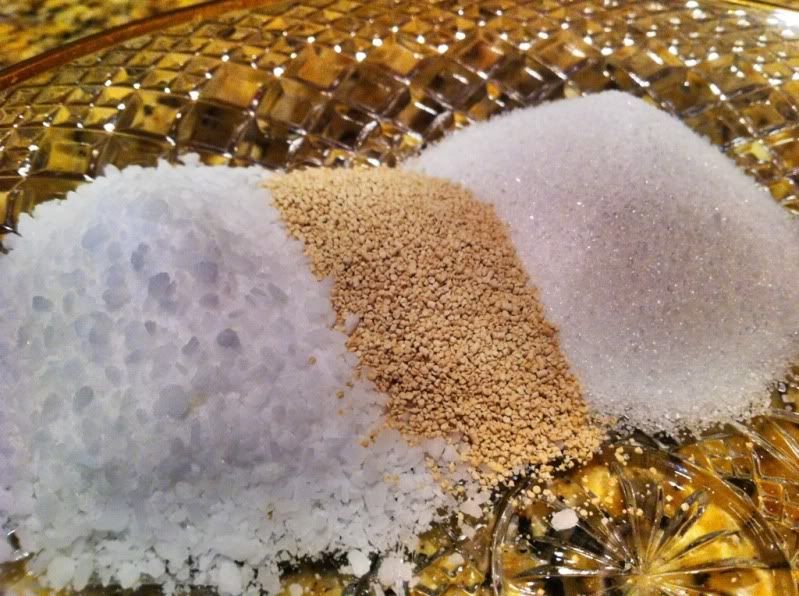 | |
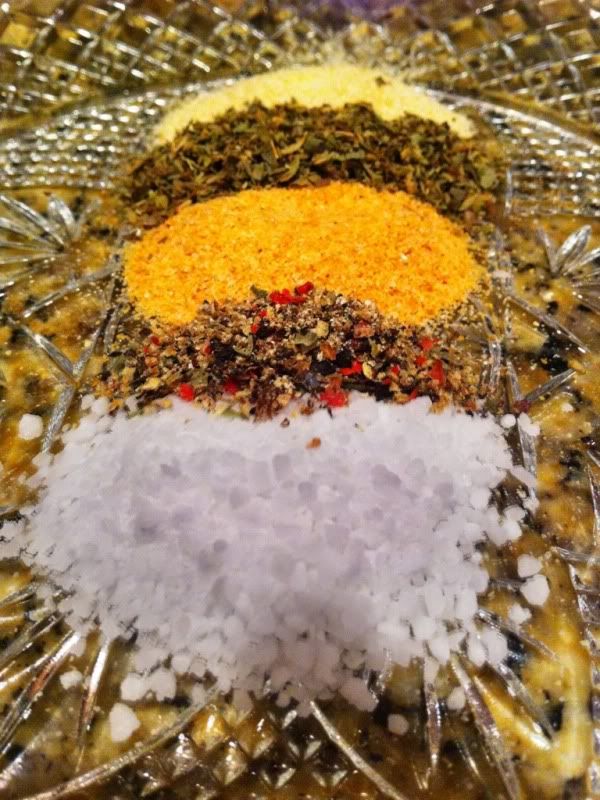
| Kosher Salt, Yeast and Sugar |
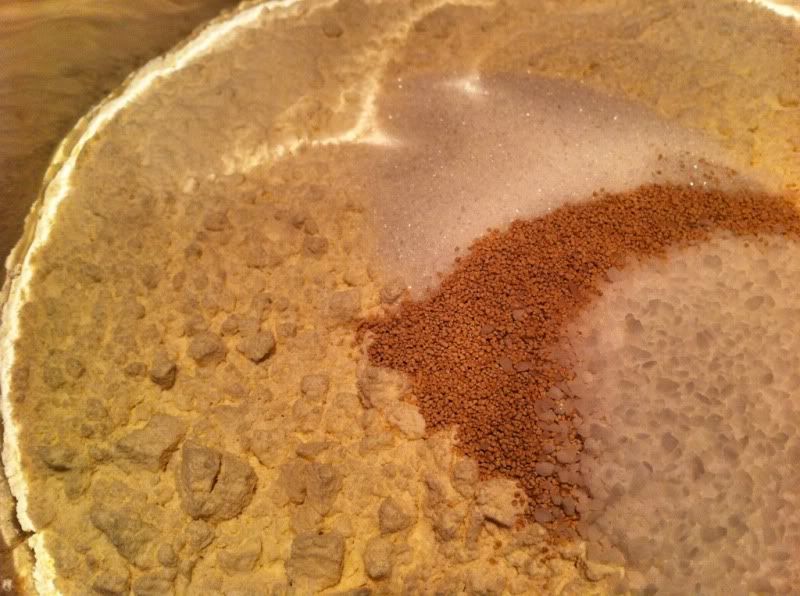 |
| All dry ingredients |
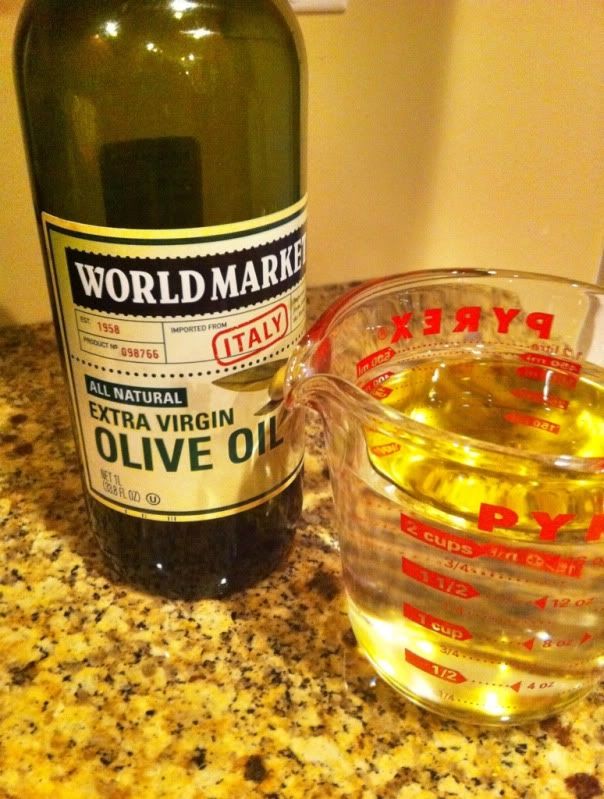 |
| Water and Olive Oil |
Here is the skinny on how to make the dough. This is one part where the kids will have a blast!
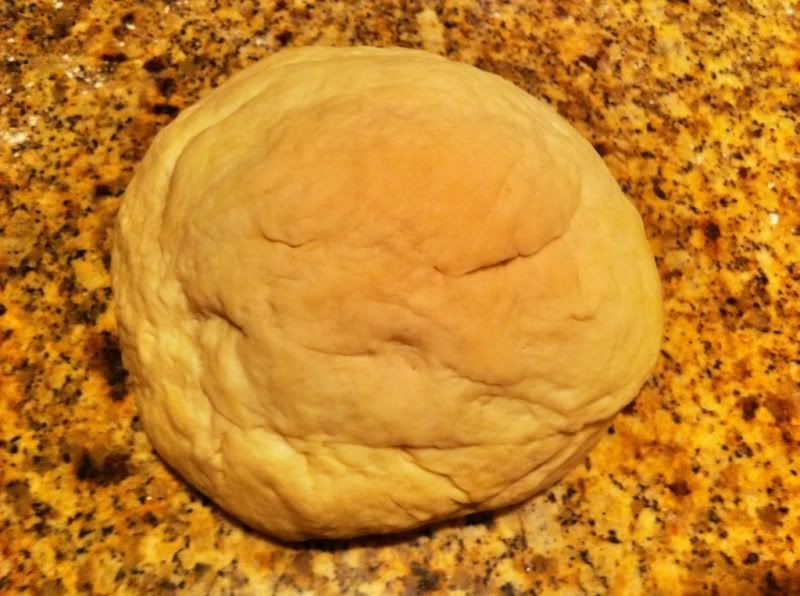 |
| Dough after kneading |
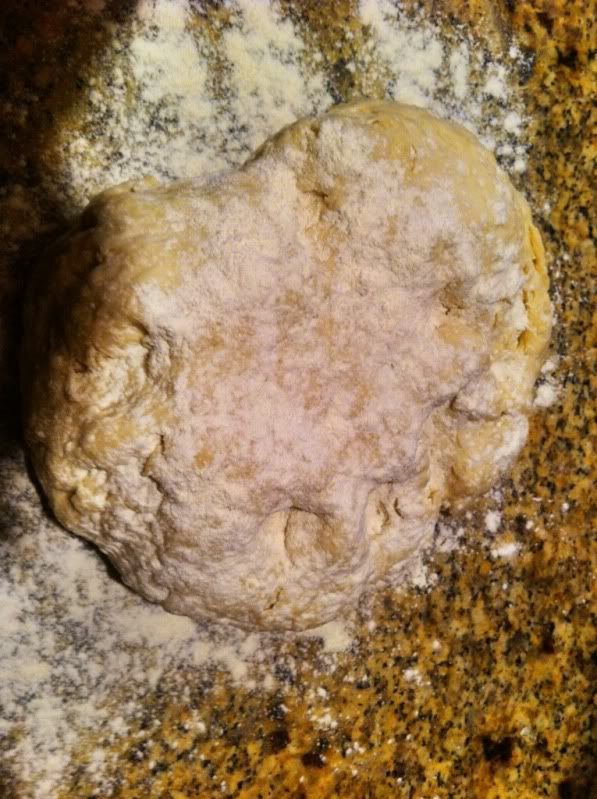 |
| Dough before kneading |
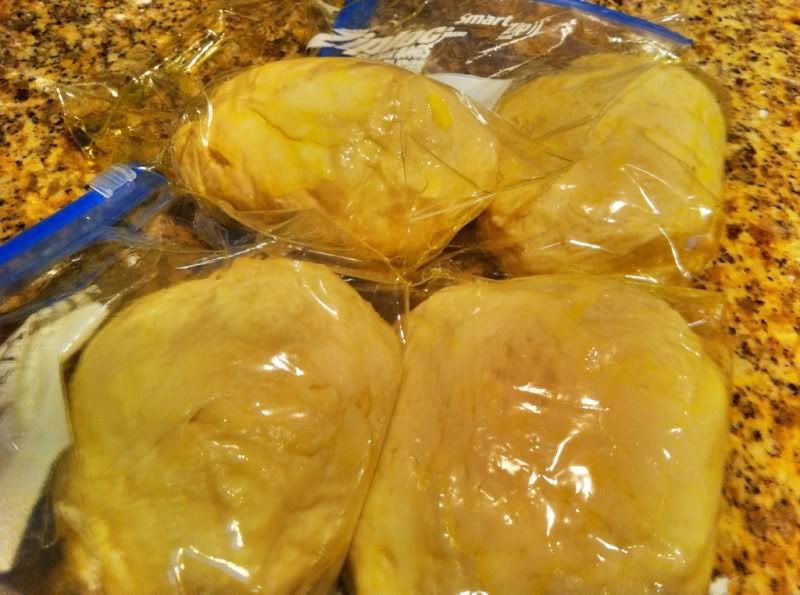 |
| Dough Divided and in Ziploc Bags |
Once you have completed kneading divide the dough into 4 even portions, and form into a ball. This recipe makes enough for 4 pizza's! I place the dough into 4 zip lock bags that have a light coating of olive oil that helps keep it from sticking to the sides of the bag. The dough I plan to use that day I place in the fridge, and freeze the other.
The dough takes the longest to complete, but it is totally worth having homemade pasta dough! My sauce is a piece of cake to make. This is a very traditional New York style sauce recipe that I have added my twist to.
Ingredients for Sauce:
1 28oz can of Redgold Whole Peeled Tomatoes
2 teaspoons of Kosher Salt
1 teaspoon of fresh cracked black pepper
2 teaspoons of Garlic Powder
2 teaspoons of Onion Powder
1 teaspoon of dried oregano
2 teaspoons of Red Wine Vinegar (yes, vinegar!)
 |
| Dry Ingredients |
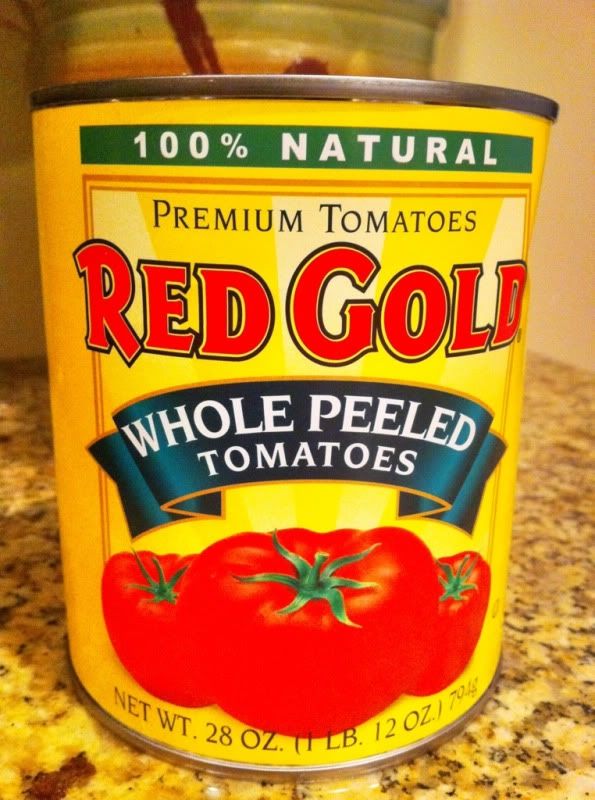 |
| Whole Tomatoes |
How to make the sauce:
Combine all ingredients in a blender and blend till smooth, that is basically it! I like to heat my sauce for an hour to help it reduce a bit, and allow the flavors to cohesively mesh together.
Combine all ingredients in a blender and blend till smooth, that is basically it! I like to heat my sauce for an hour to help it reduce a bit, and allow the flavors to cohesively mesh together.
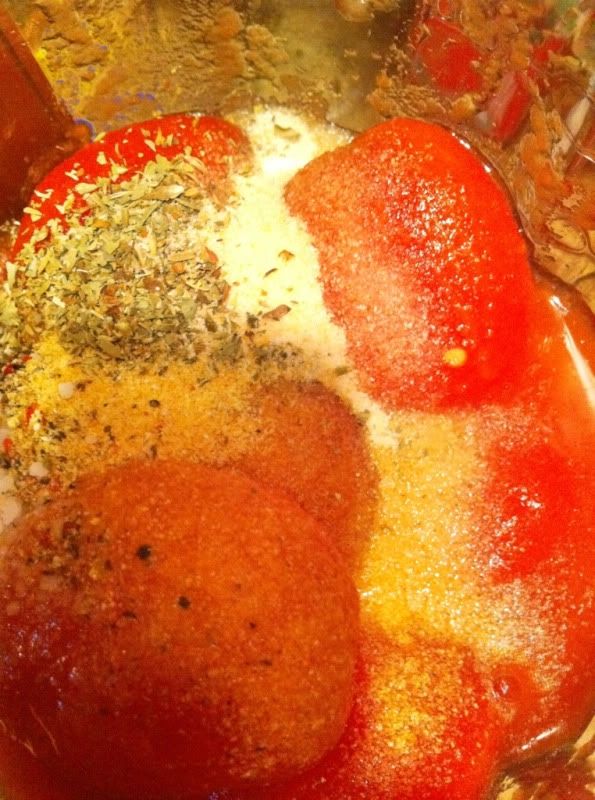 |
| Tomatoes and Dry Ingredients |
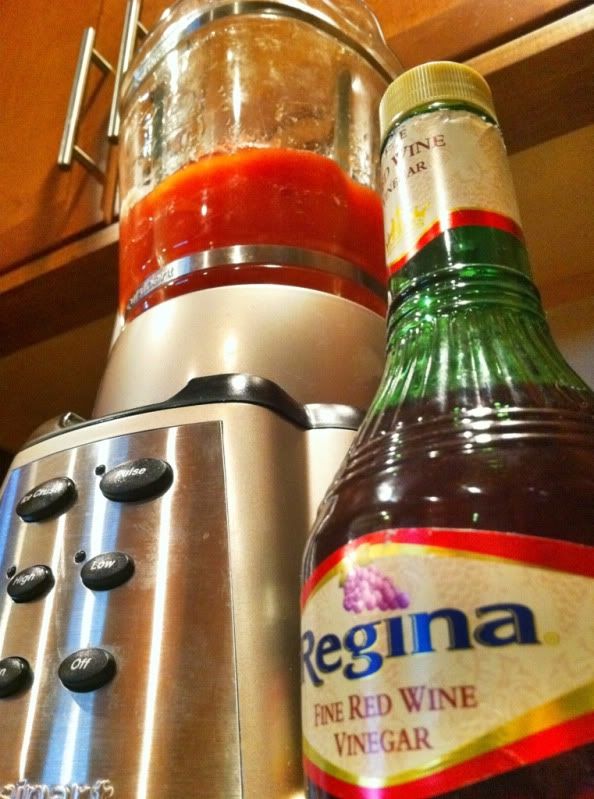 |
| Red Wine Vinegar ready to go in! |
I like to have fresh shredded cheeses on my pizza, so I generally get a block of low moisture mozzarella cheese and shred it. I do not suggest getting fresh mozzarella cheese as it has too much water in it. When you cook your pizza it will get too soggy. I also have a special ingredient that you do not see much on pizza, but trust me, it works really well! Are you ready for it? Sharp Vermont Cheddar Cheese...Odd I know...I buy a small block of it and shred it as well...I use it lightly when I top the pizza, but the flavor goes a long way!
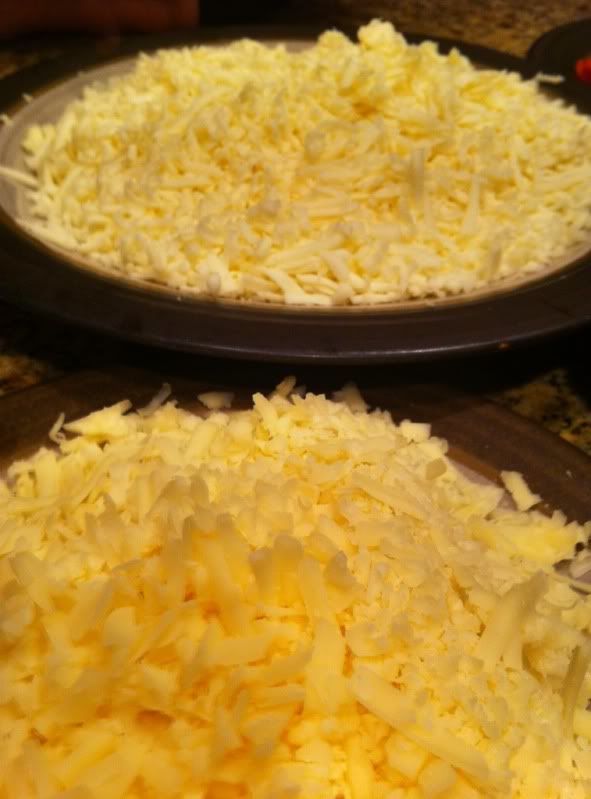 |
| Vermont Cheddar on bottom and mozzarella on top. |
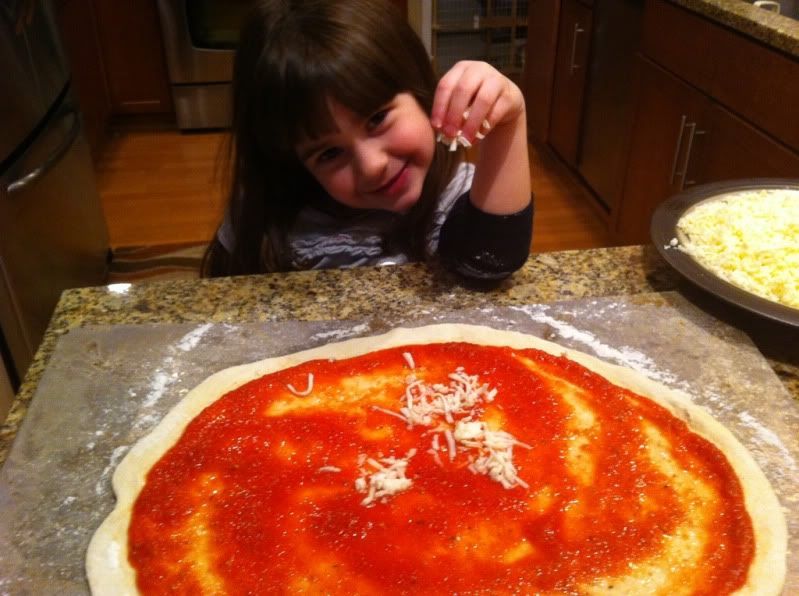 | |
| My daughter adding cheese |
Once you have the dough in the desired shape I just simply add enough sauce to cover the pizza and then start topping with your favorite toppings. My daughter just like cheese, so you can see her making her pizza.
 |
| Completed Cheese Pizza |
When you have completed topping your pizza place your creation into the hot oven on a pizza stone. The cooking will not take long at all! Maybe 5-7 minutes tops! Continue to watch the pizza to make sure it does not burn on you. Once it is done remove it from the pizza stone and enjoy!
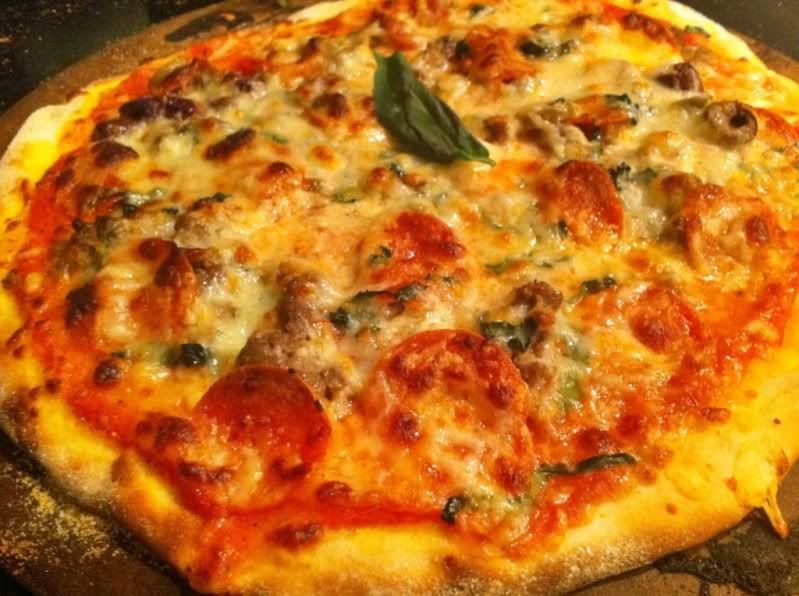 |
| Pizza for mommy and me! (sausage, mixed olives, pepperoni) |
Here are a couple photos of the completed pizza's we made. The both turned out fantastic! The dough was crisp on the bottom, chewy in the middle and the sauce was perfect!
I hope you all enjoy the pizza's and especially enjoy the time with your kids!